|
Depth to Plant
|
Spacing Between Plants |
Days to Germinate (Sprout)
|
Germination
|
Best Season to Plant_________ |
Sun
|
Soil
|
Good Plant Companions |
Days to Maturity
|
| 1/2" Deep | 15" Apart | 8-14 Days | 70° F | Spring | Full Sun | pH 6.5-7.5 | Other herbs | 70 |
Getting Started with Marjoram Seeds
Marjoram is one of the easiest herbs to grow from seed, making it perfect for both beginners and experienced gardeners. This hardy perennial thrives in warm conditions and rewards you with fragrant leaves perfect for cooking, teas, and dried arrangements. Here's everything you need to know to grow marjoram successfully from seed.
Choosing the Right Time to Plant
Start marjoram seeds indoors 6 to 8 weeks before your last spring frost. This gives seedlings time to develop strong roots before transplanting outdoors. If you prefer direct sowing, wait until soil temperatures reach at least 70°F and all frost danger has passed. Marjoram loves warmth, so timing matters—planting too early in cold soil will slow germination.
Preparing Your Soil and Container
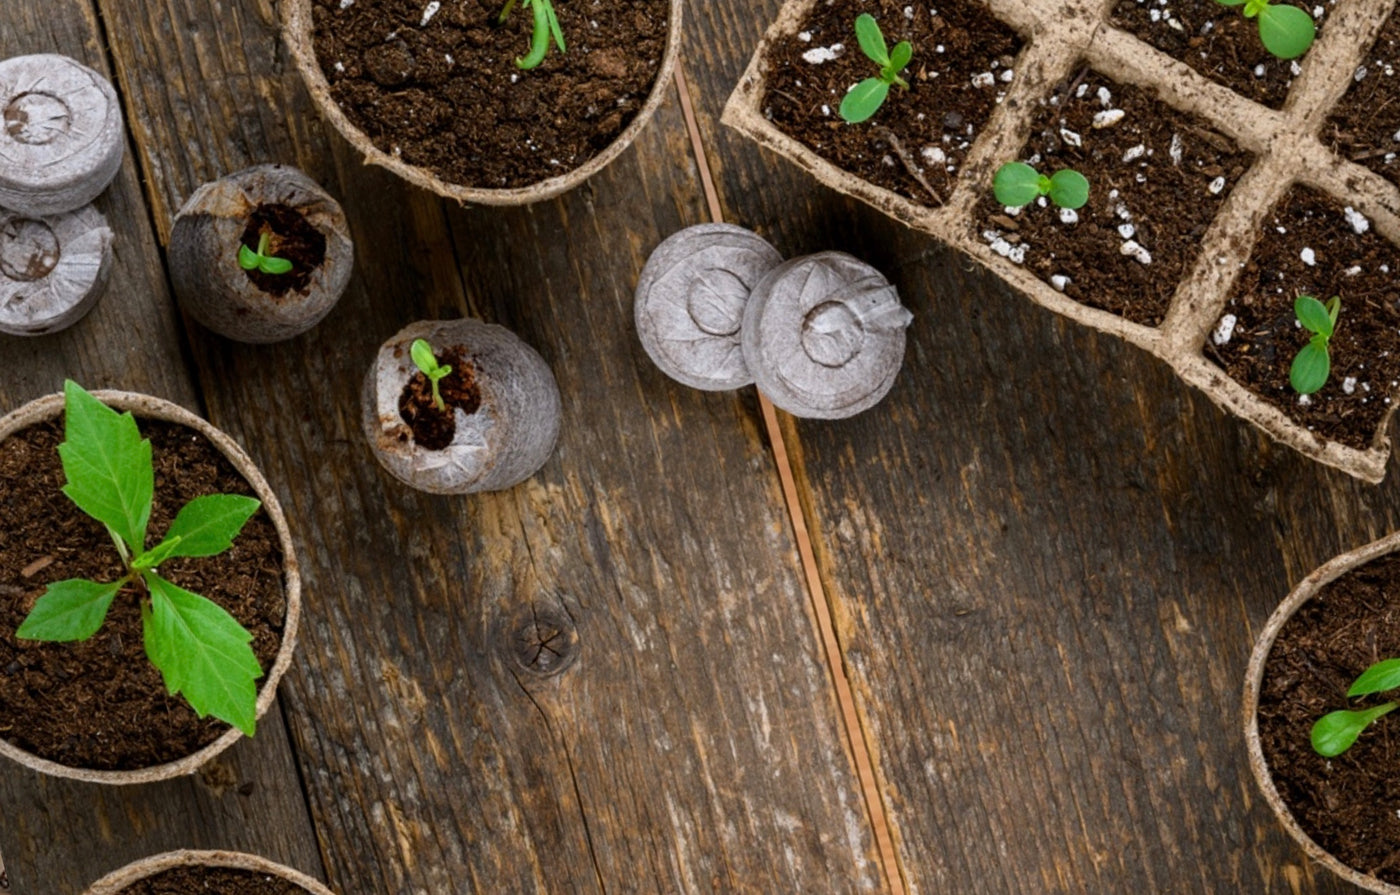
Use a light, well-draining seed-starting mix or potting soil. Marjoram doesn't tolerate waterlogged conditions, so drainage is essential. Fill small pots or seed trays with moist soil, pressing it down gently. Marjoram seeds are tiny, so sprinkle them lightly across the surface without burying them deeply—just a light press into the soil is enough for good seed-to-soil contact.
Germination and Early Care
Keep soil consistently moist but not soggy while waiting for germination, which typically takes 7 to 14 days at temperatures between 70°F and 75°F. Cover your containers with a humidity dome or plastic wrap to retain moisture, but remove it as soon as seedlings emerge. Place seedlings in bright light immediately—a sunny windowsill or grow light works well. Keep the light source close to prevent leggy, weak growth.
Hardening Off and Transplanting
About 2 weeks before your transplant date, begin hardening off seedlings by gradually exposing them to outdoor conditions. Start with just an hour in a sheltered spot, increasing exposure over 7 to 10 days. Once seedlings have their true leaves and outdoor conditions are warm, transplant them into the garden or larger containers, spacing them 8 to 12 inches apart.
Growing Marjoram Outdoors
Choose a location with full sun—at least 6 hours daily, though 8 hours is ideal. Marjoram prefers well-draining soil and tolerates lean, sandy conditions. Avoid over-fertilizing, which can reduce flavor intensity. Water when the top inch of soil feels dry, but once established, marjoram is quite drought-tolerant. Pinch off flower buds to encourage bushier growth and extend leaf production.
Harvesting and Storage
Begin harvesting leaves once the plant is established, usually 6 to 8 weeks after transplanting. Pinch off the top leaves and stems regularly—this encourages branching and fuller plants. For the best flavor, harvest in the morning after dew dries but before the day gets too hot. Dry excess leaves by hanging bundles in a warm, airy location, or use them fresh in your favorite recipes.
With proper care, your marjoram plants will produce fragrant leaves all season long and may even survive mild winters outdoors, giving you years of harvests to come.
In Summary
| How to Grow & Harvest Marjoram |
|
When to Plant
How to Plant Marjoram grows best in full sun locations with well drained soil. They can tolerate drought and can do well in average soils. Marjoram is actually very drought resistant and only needs to be watered once or twice a week. There is no need to fertilize this plant. Harvest the flowers as soon as they appear, because the leaves will turn bitter once the flowers set.
When to Harvest Start harvesting your marjoram as soon as it has produced a few dozen leaves. The young, tender leaves have the best flavor. Harvesting is best done early in the morning when the oils are the strongest. Place the leaves in a dry, cool ventilated area. Once dried, you can put them in the freezer for a later time. |